Getting started
- Navigate to the Identity & Access tab in your Stakeholder Dashboard.
- Scroll to Banking Details and click Add bank details.

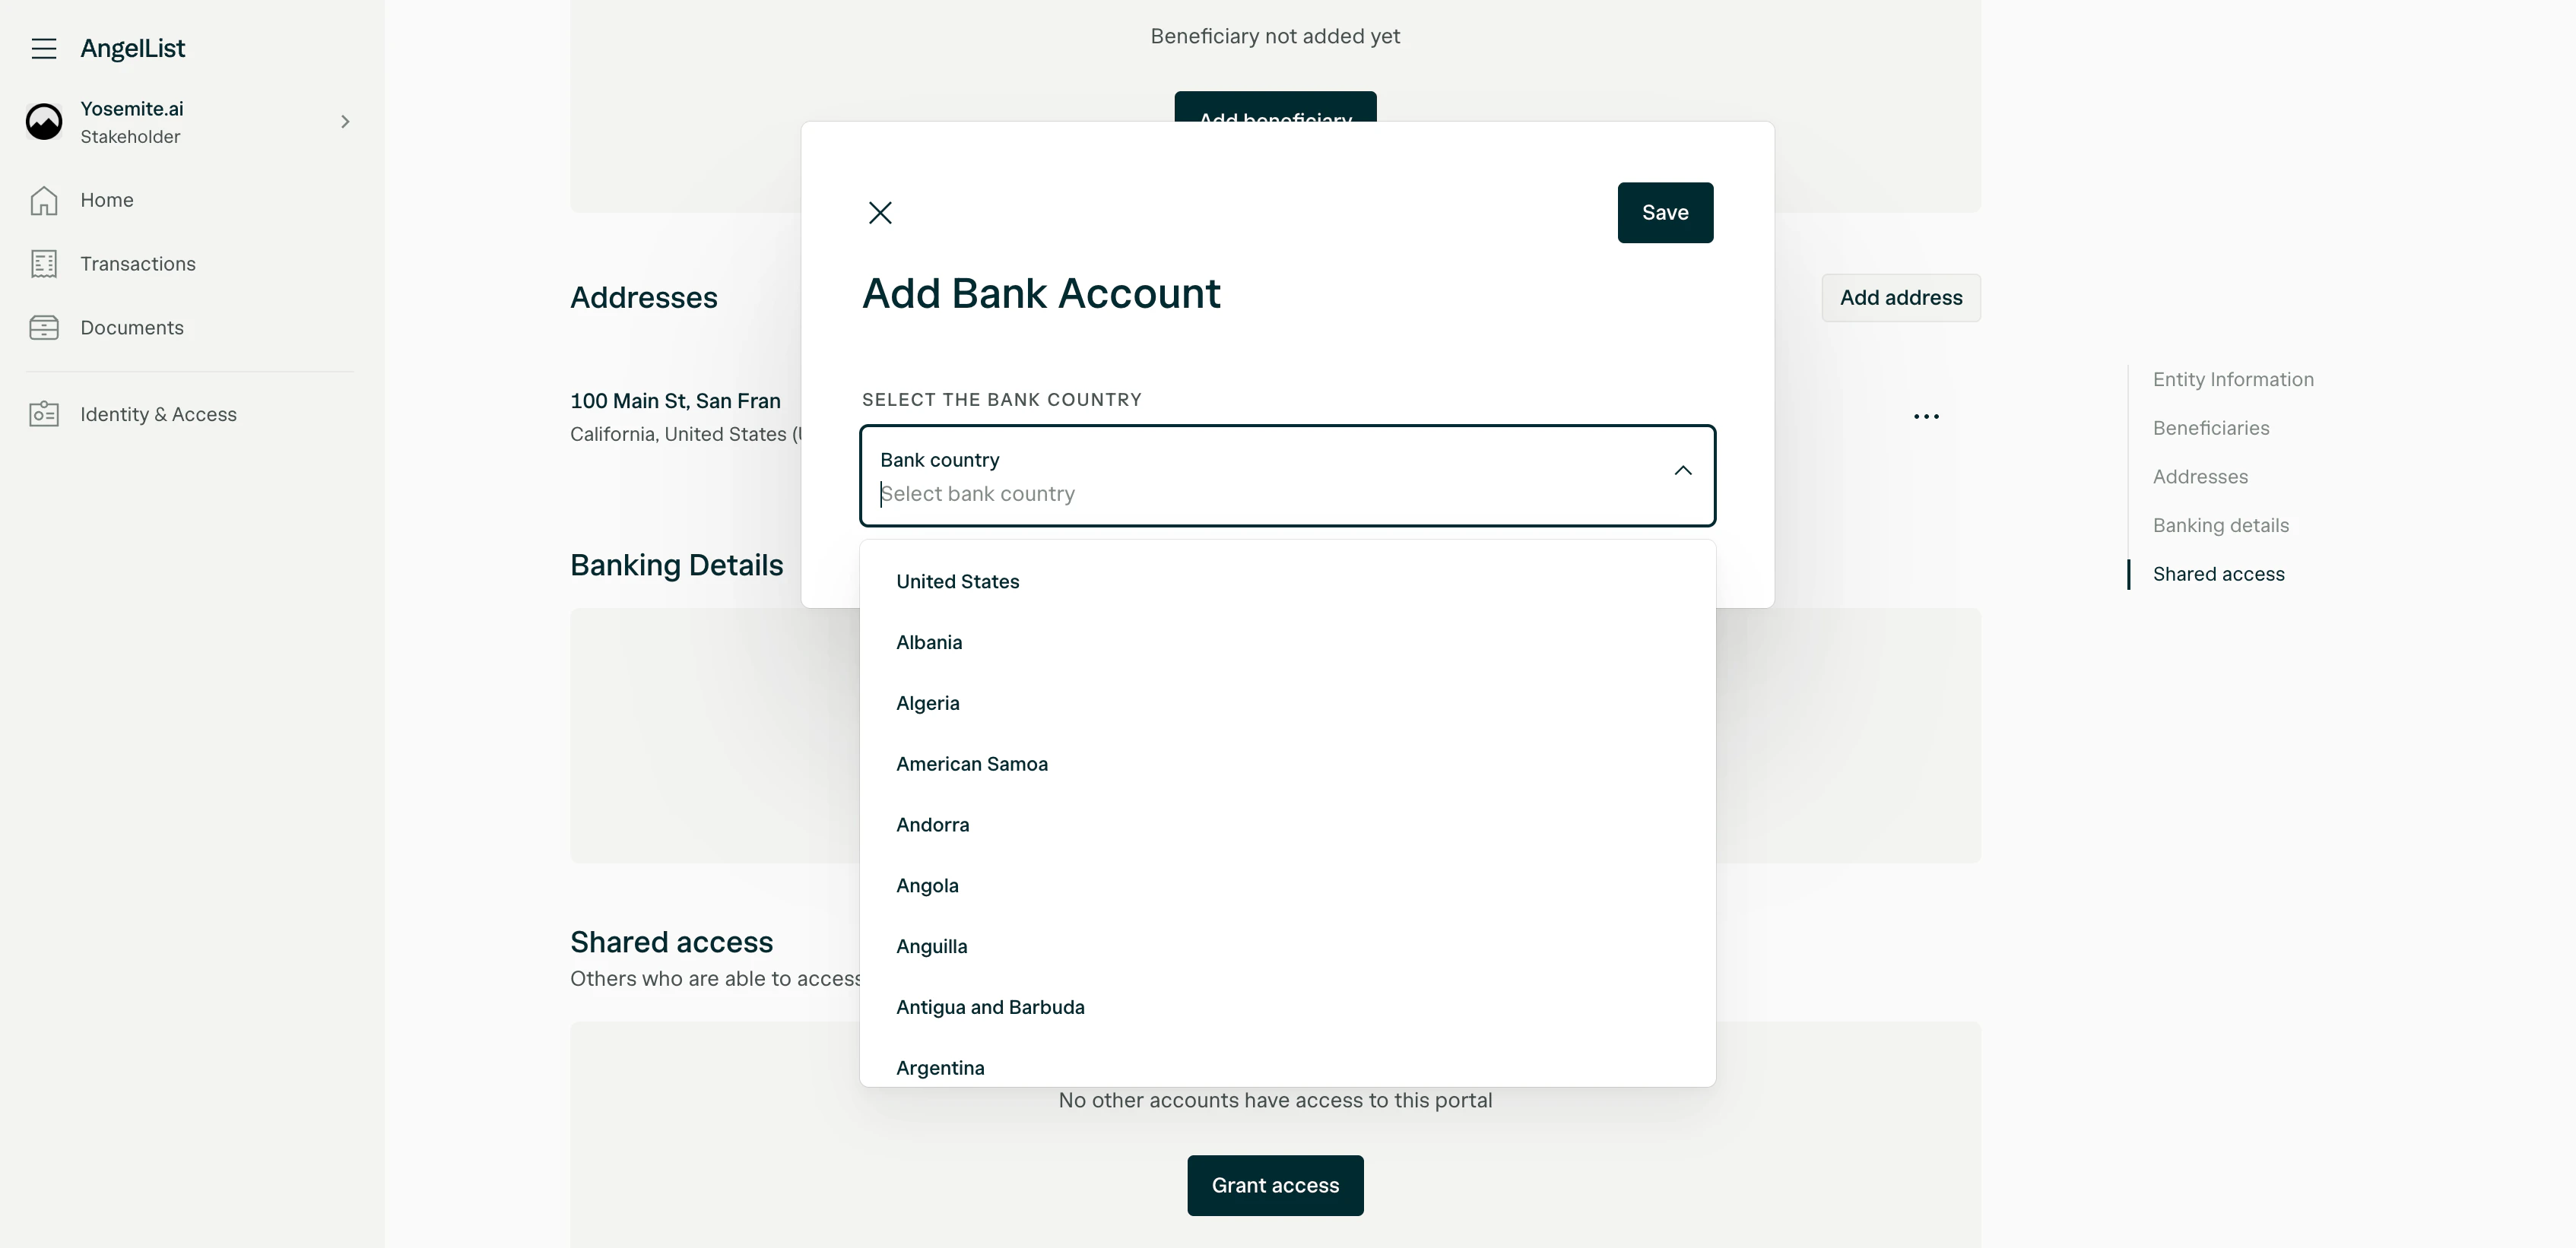
- Select your Bank country from the dropdown.
Receiving proceeds in a US bank account
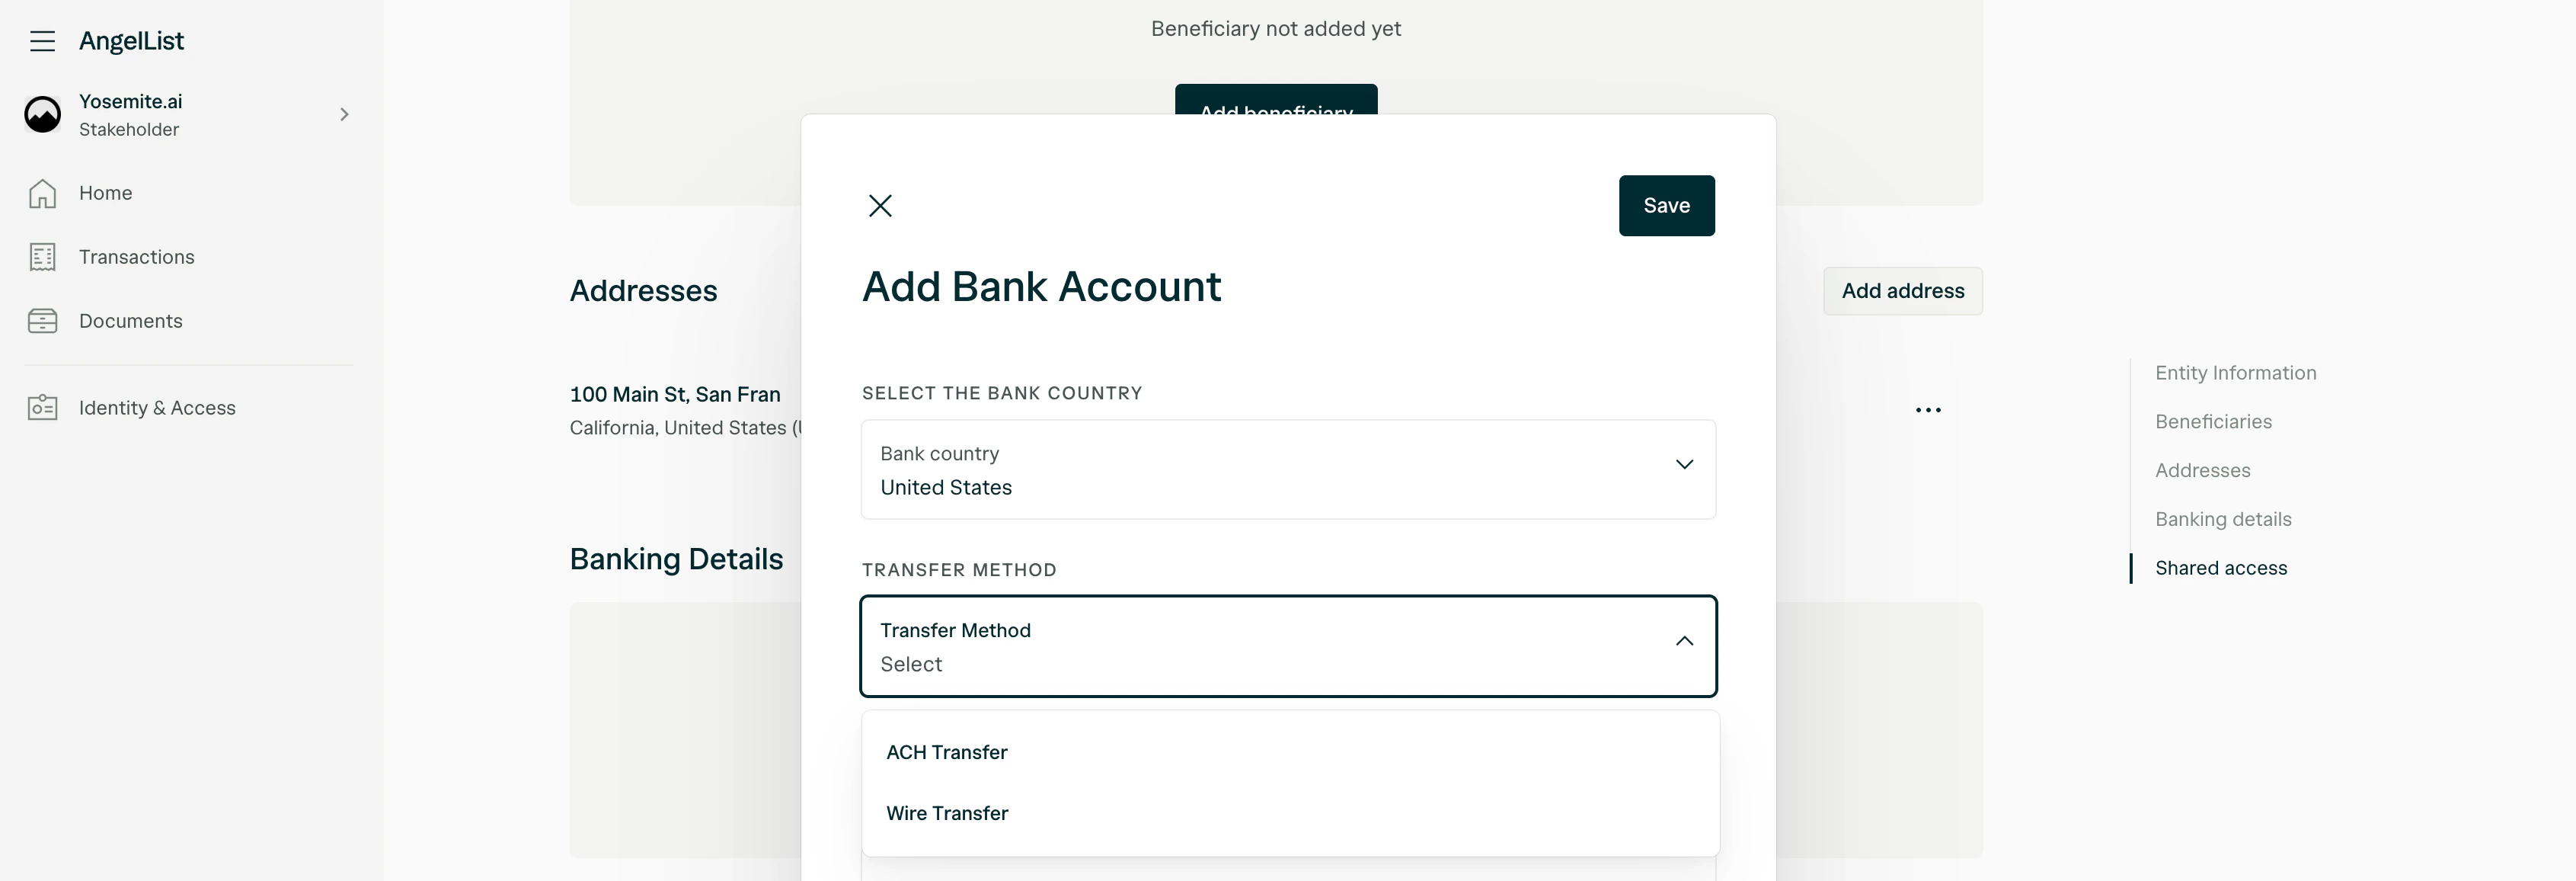
If you wish to receive proceeds in a US-based bank account, you’ll choose a transfer method and provide your beneficiary and account details. 1. Select a transfer method After selecting United States as the bank country, choose your preferred transfer method:- ACH Transfer — Standard electronic transfer between US bank accounts. Typically takes 1–3 business days.
- Wire Transfer — Faster transfer option, usually processed same-day or next business day.
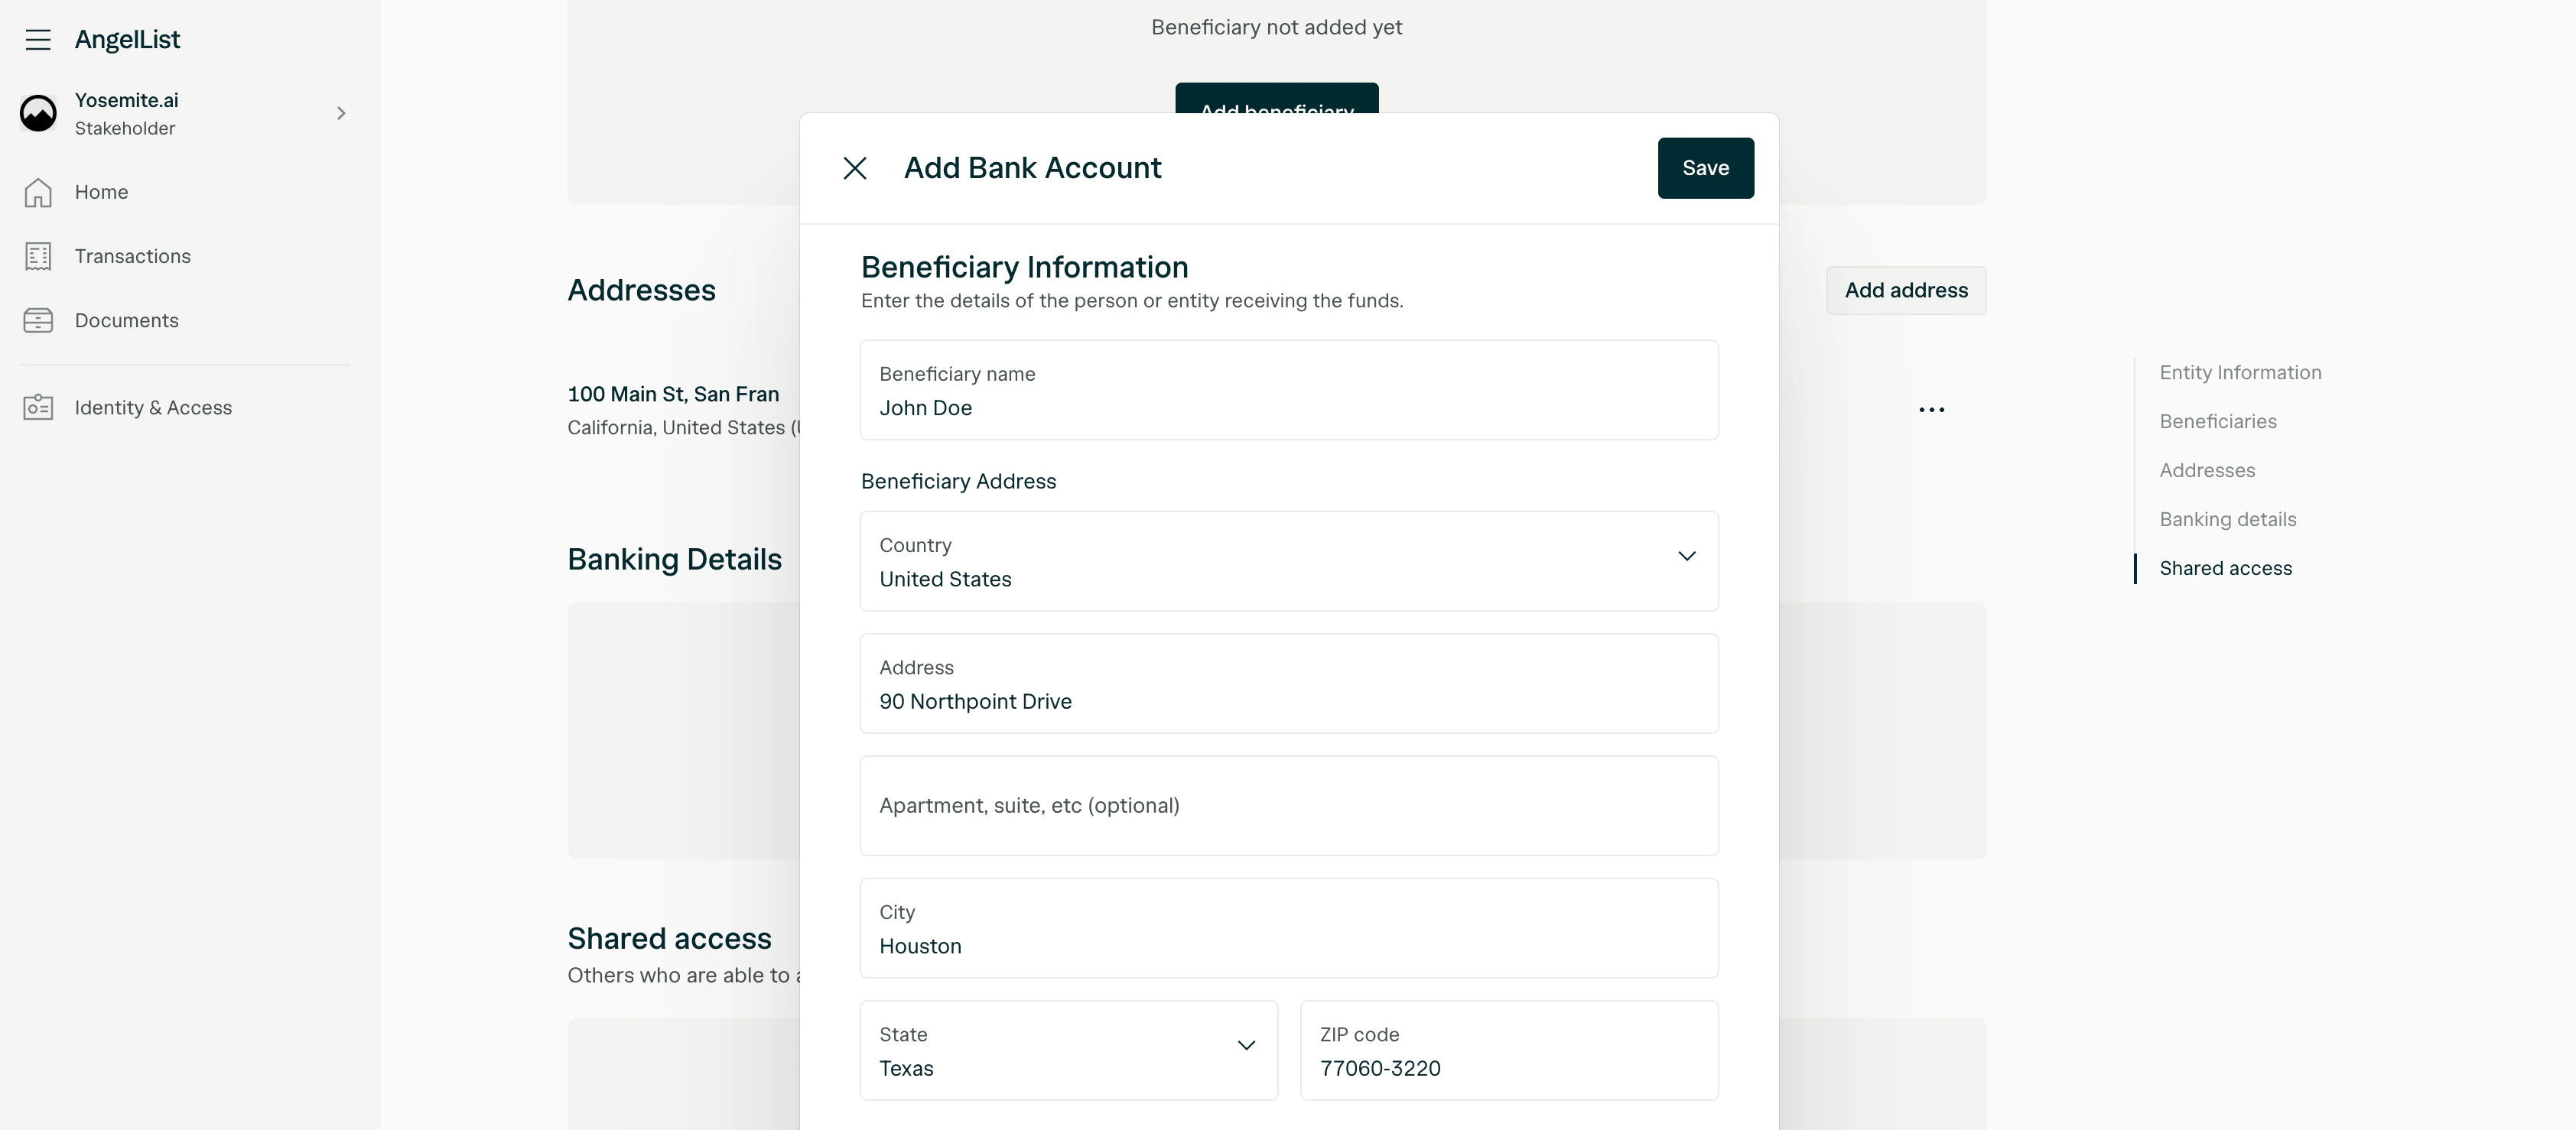
- Beneficiary name — The name on the bank account.
- Beneficiary address — The full mailing address associated with the account holder, including country, street address, city, state, and ZIP code.
- Bank name
- Routing number
- Account number
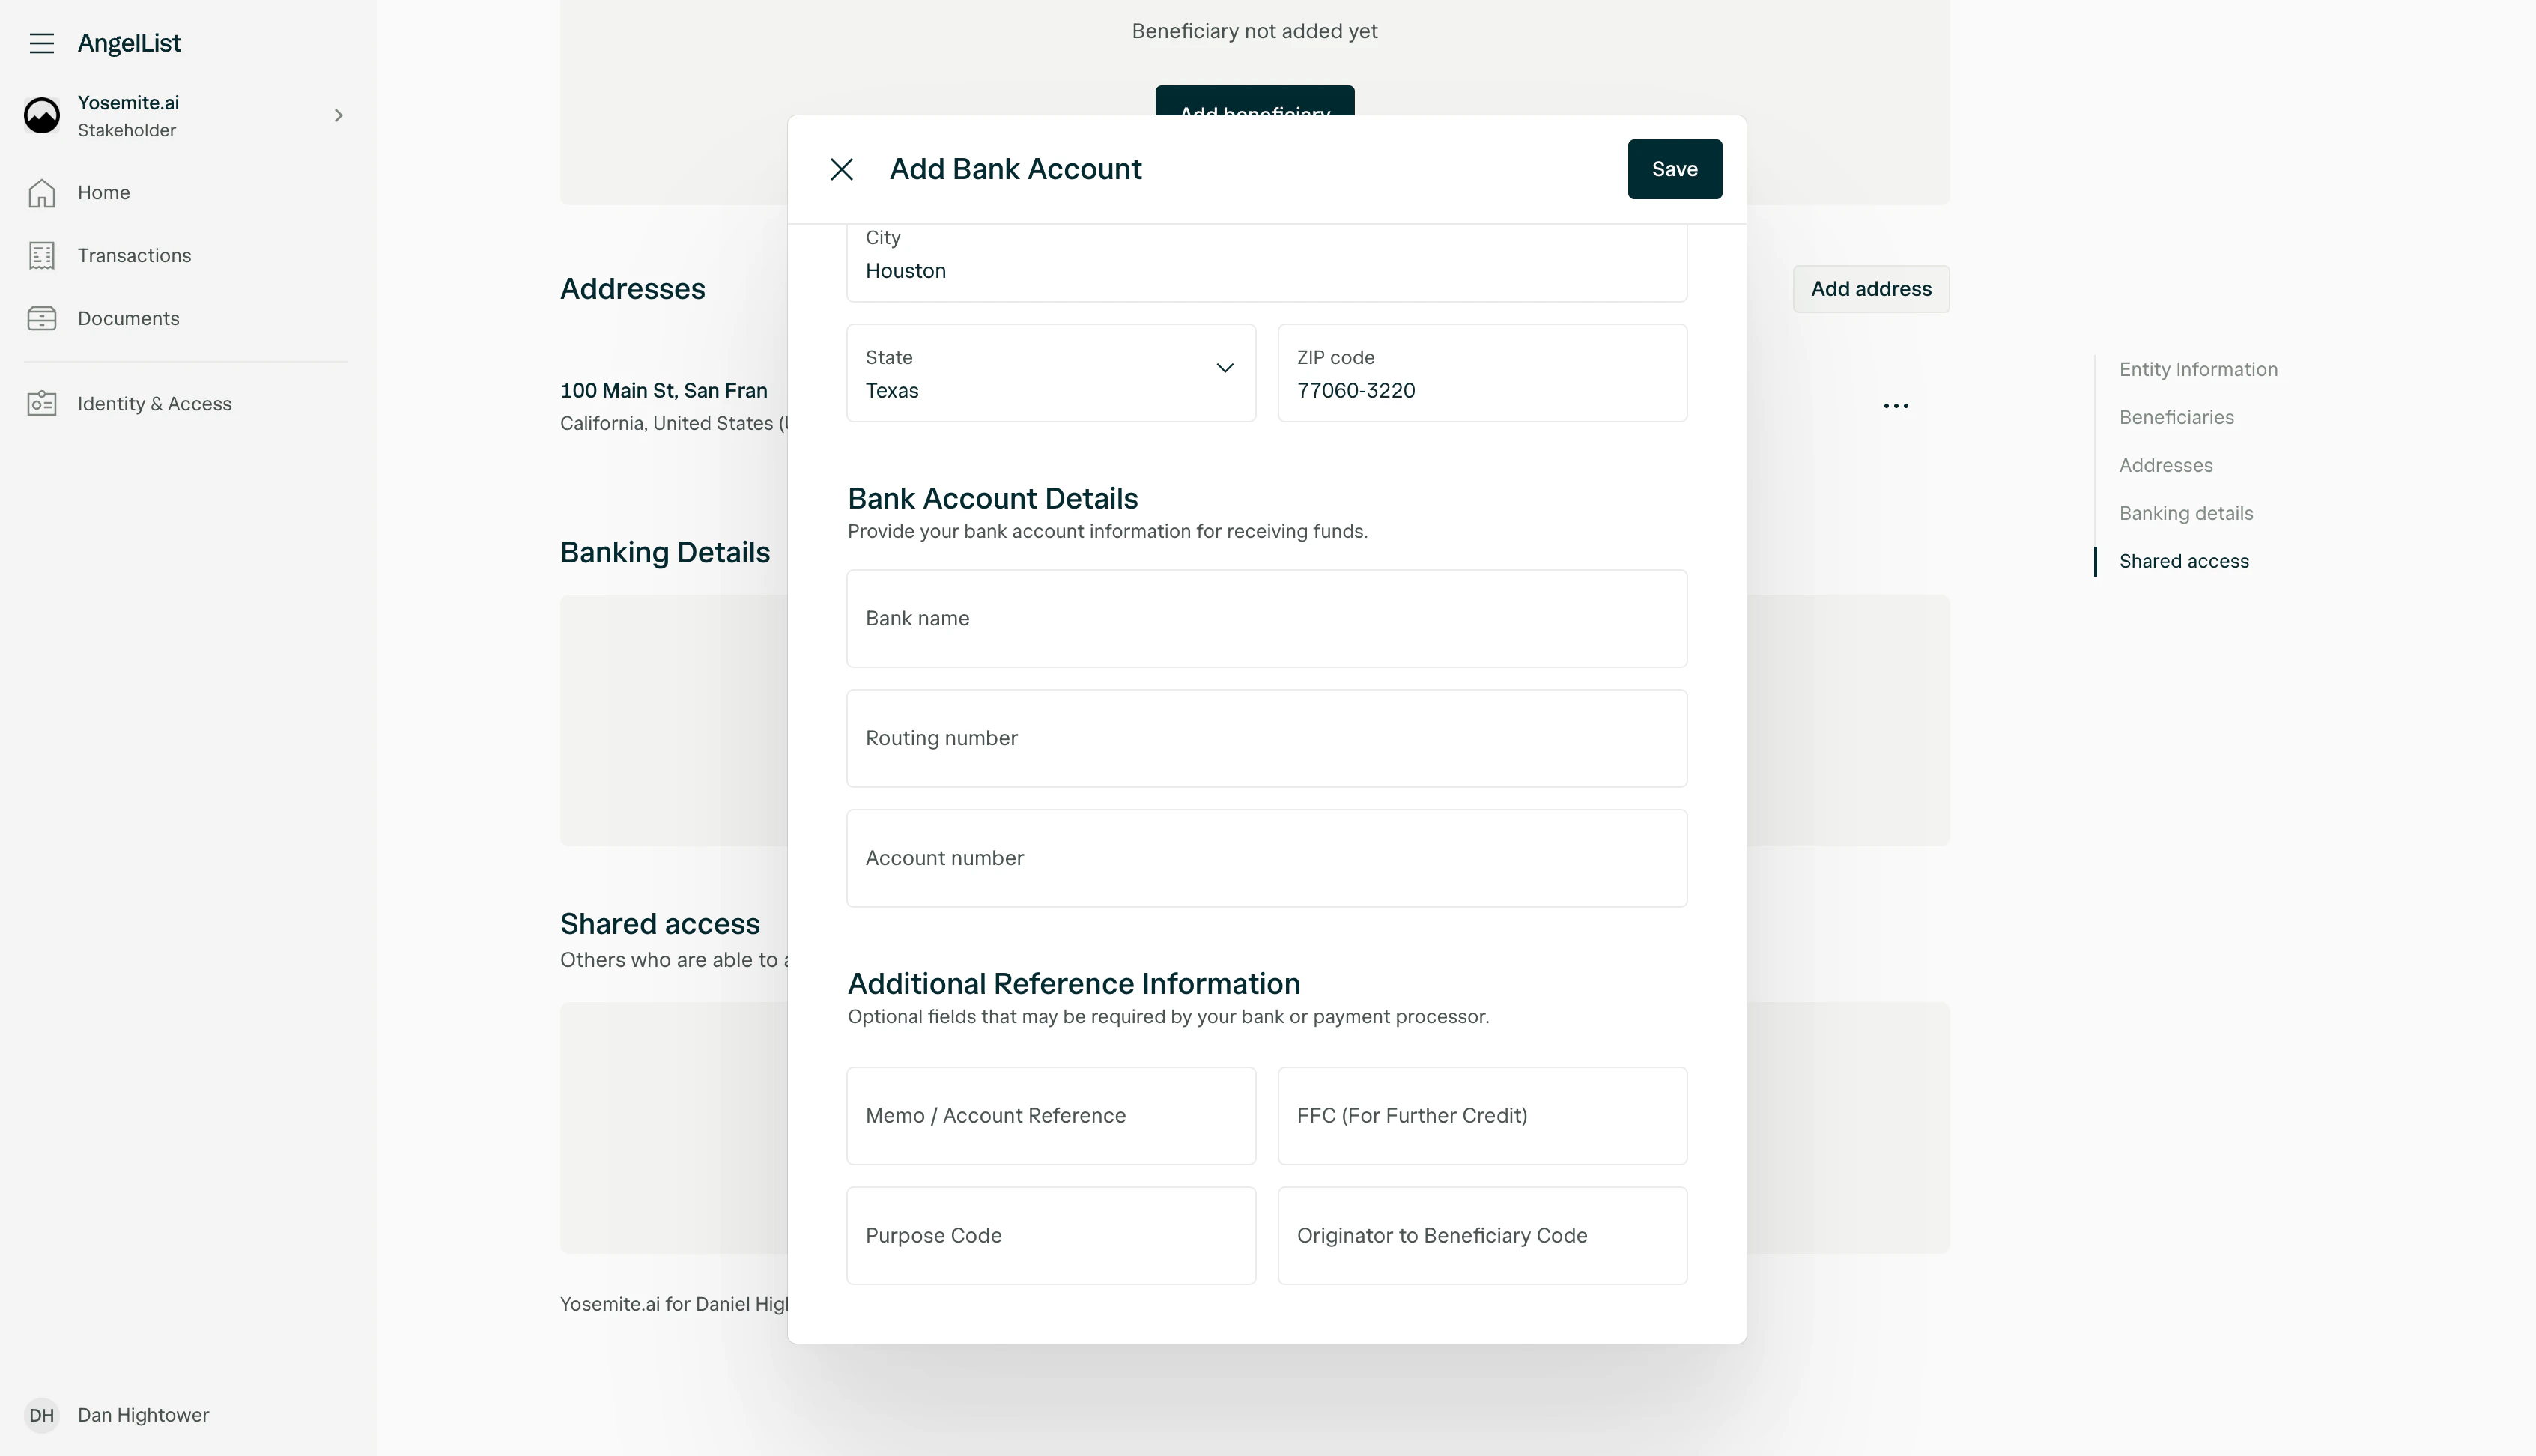
- Memo / Account Reference — A reference number or note required by your bank to identify and allocate incoming funds to your account.
- FFC (For Further Credit) — Specifies the final recipient when funds are received through a custodial or intermediary bank. For brokerage accounts, this is typically your individual account number.
- Purpose Code — A code that identifies the reason for the payment, sometimes required for regulatory compliance.
- Originator to Beneficiary Code — Additional information passed from the sender to the recipient’s bank.
Double-check your routing number, account number, and beneficiary information before saving. Incorrect bank details may result in delayed or lost funds.
Receiving proceeds in a non-US bank account
If you wish to receive proceeds in a bank account outside the United States, payments are sent via SWIFT wire transfer. This requires your SWIFT/BIC code and may require a correspondent (intermediary) bank to process USD payments. 1. Select your country and transfer method After selecting your bank’s country, SWIFT Wire Transfer will be automatically selected as the transfer method.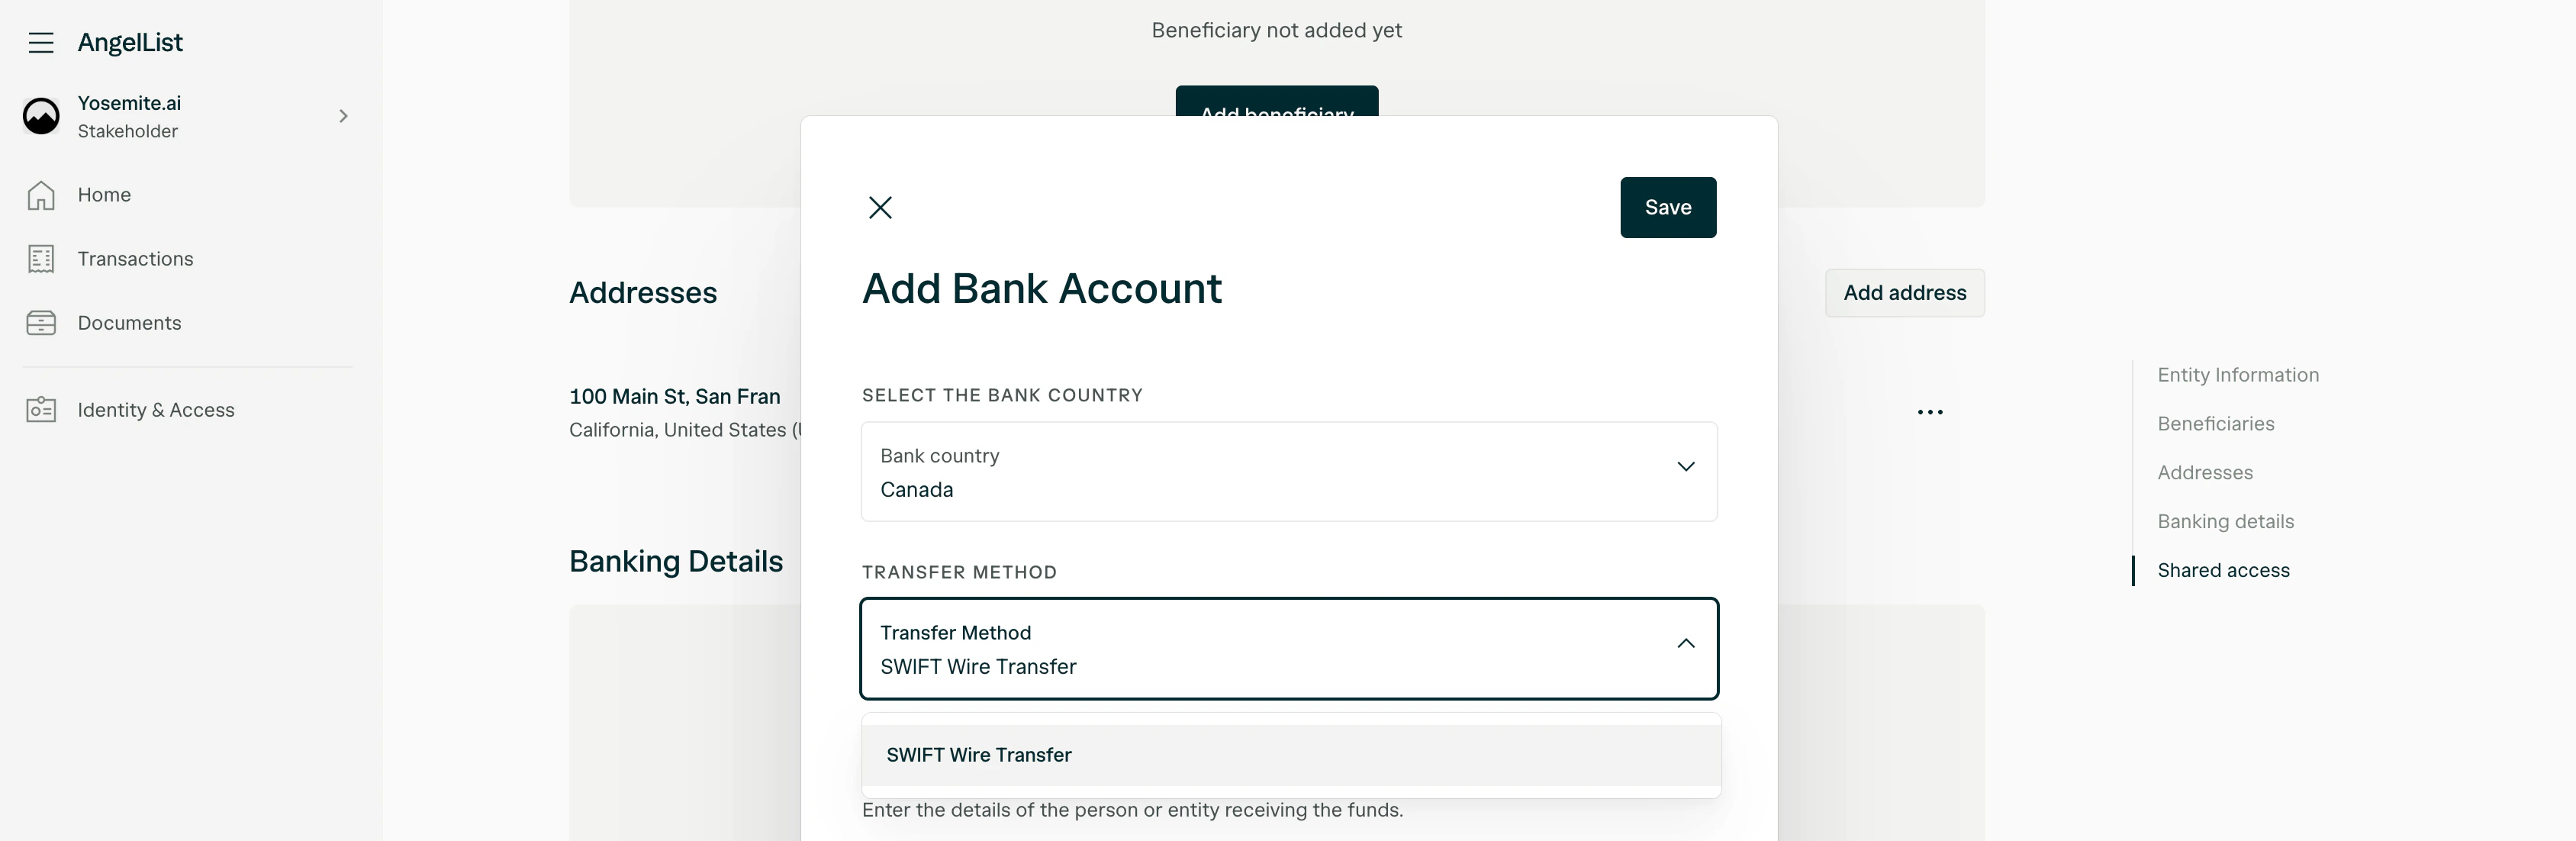
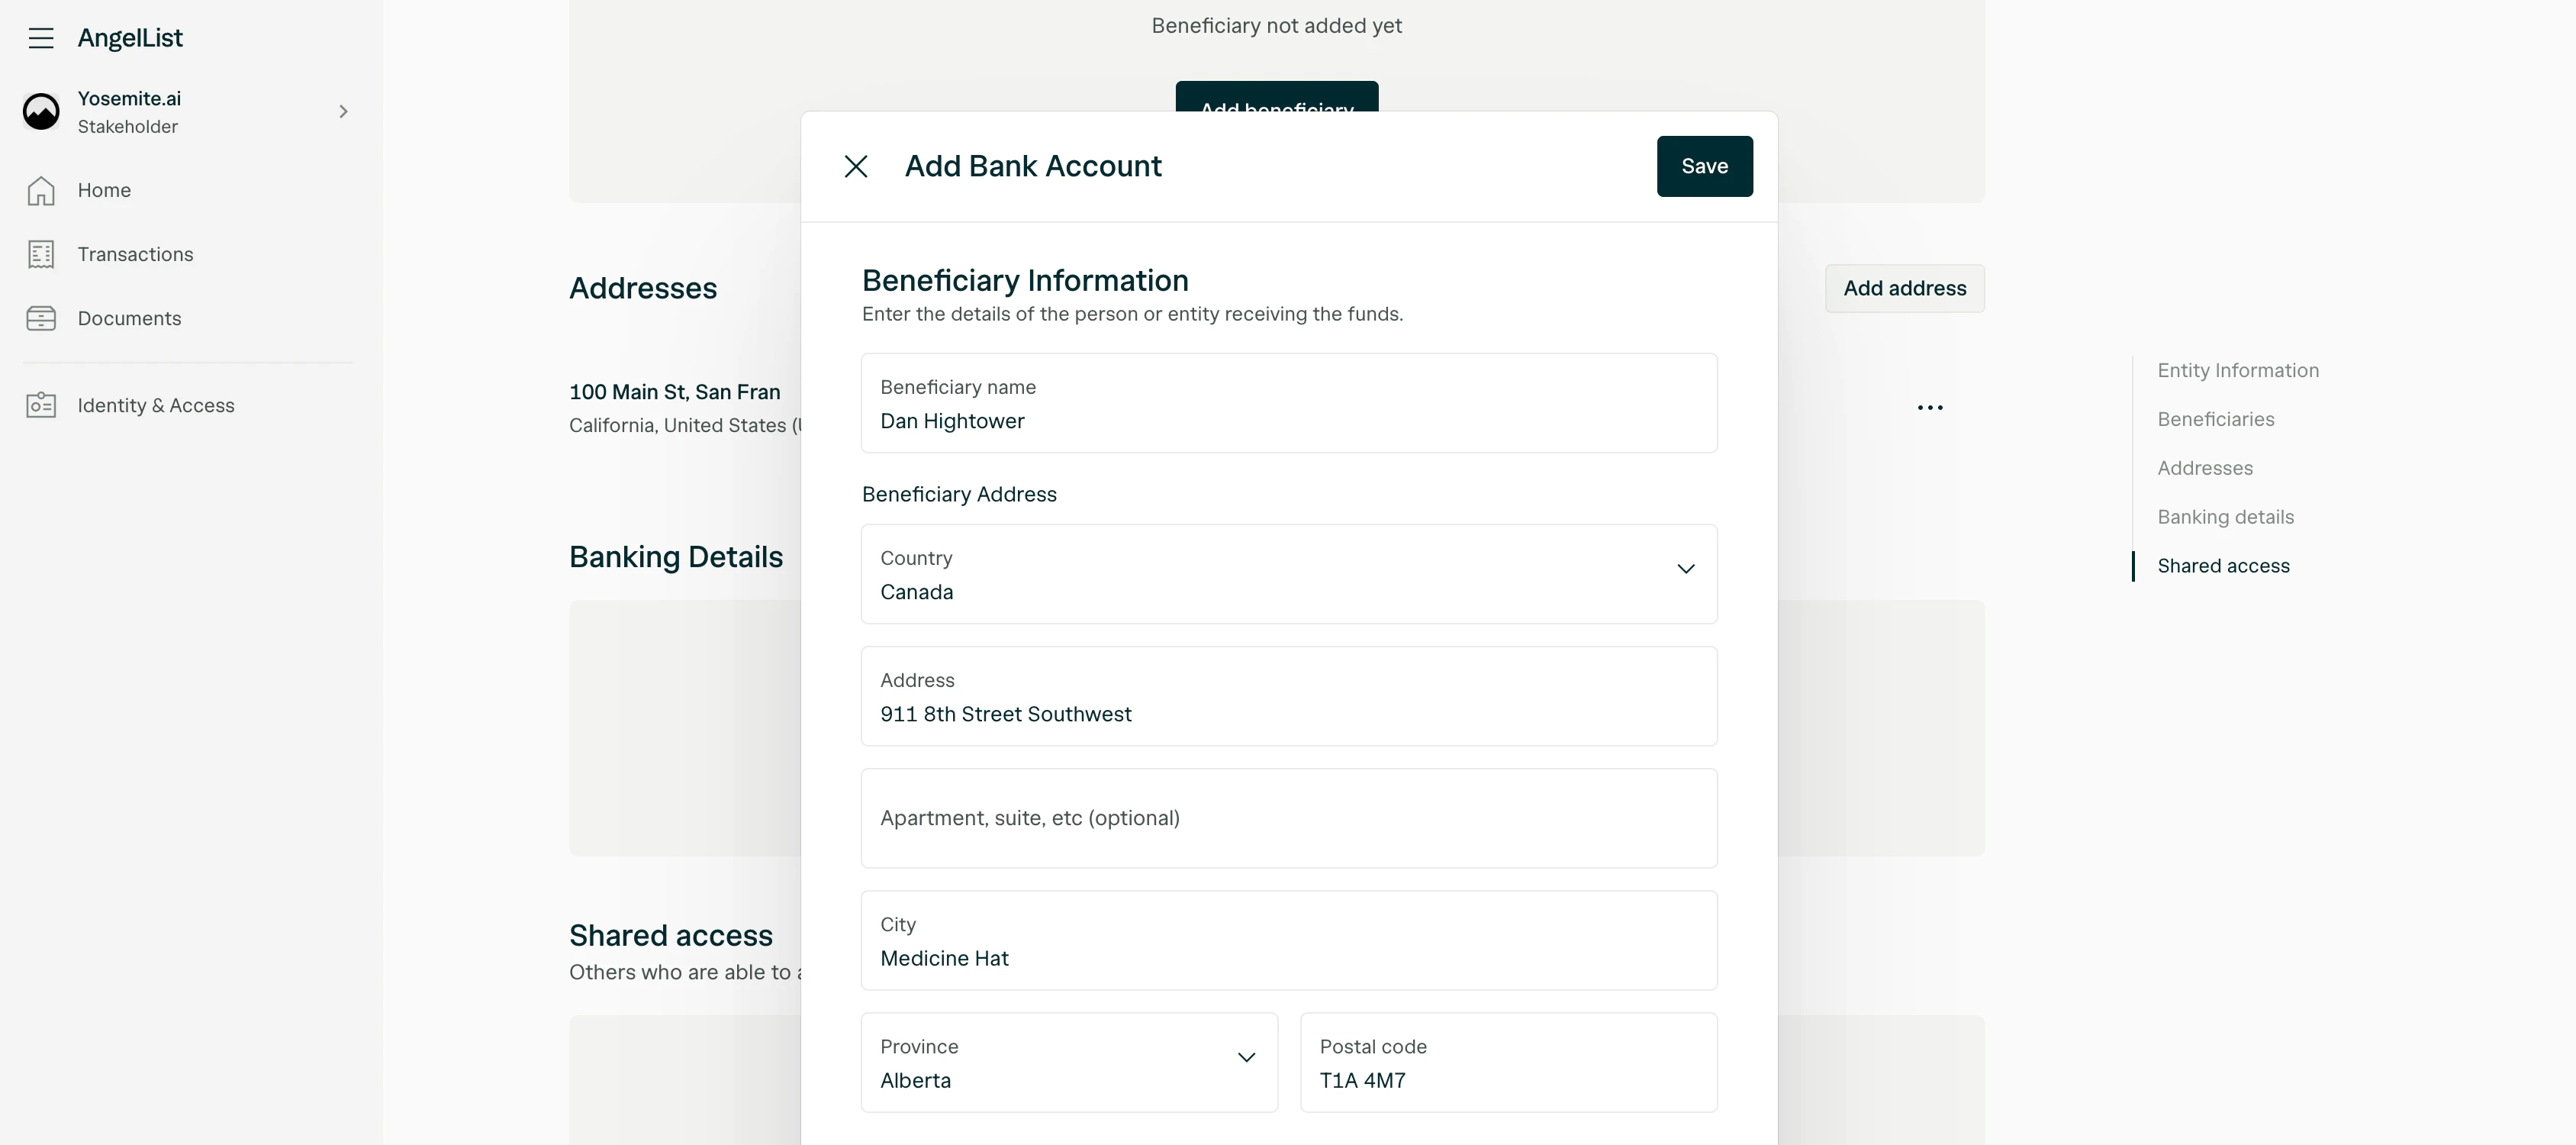
- Beneficiary name — The name on the bank account.
- Beneficiary address — The full mailing address associated with the account holder, including country, street address, city, province/state, and postal code.
- Bank name
- Account number
- SWIFT/BIC code — Your bank’s unique international identifier. Contact your bank if you don’t know this code.
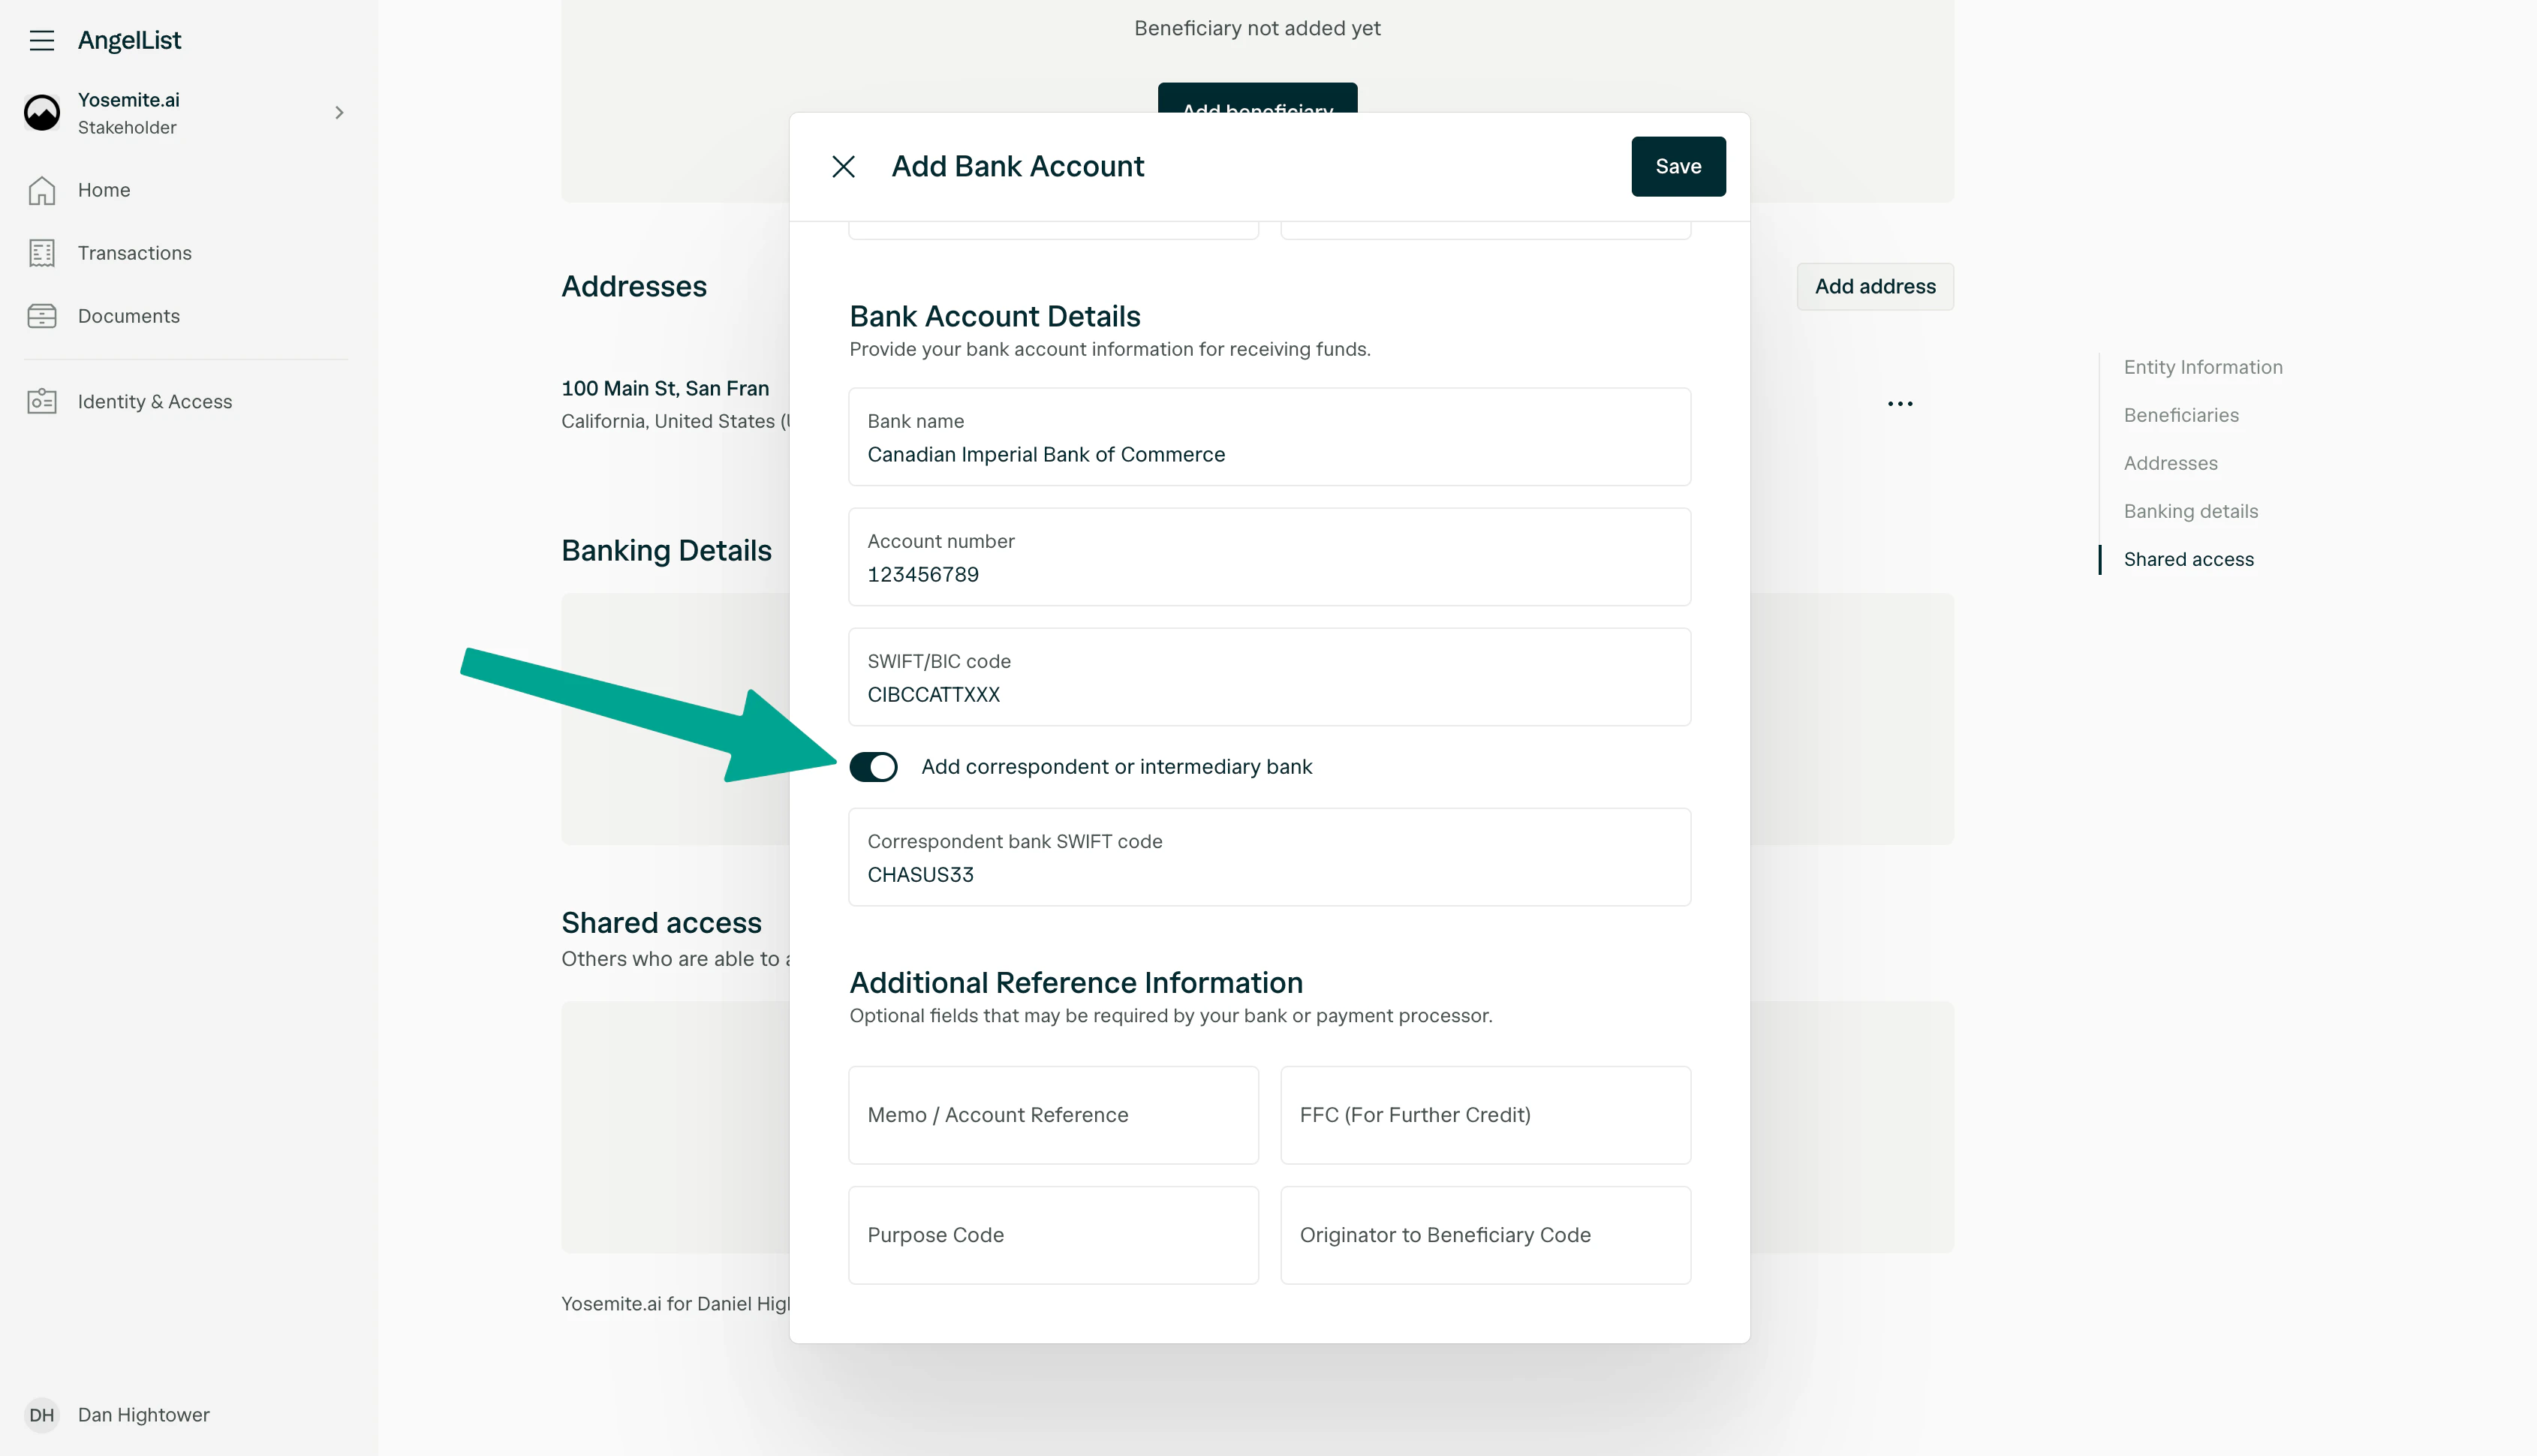
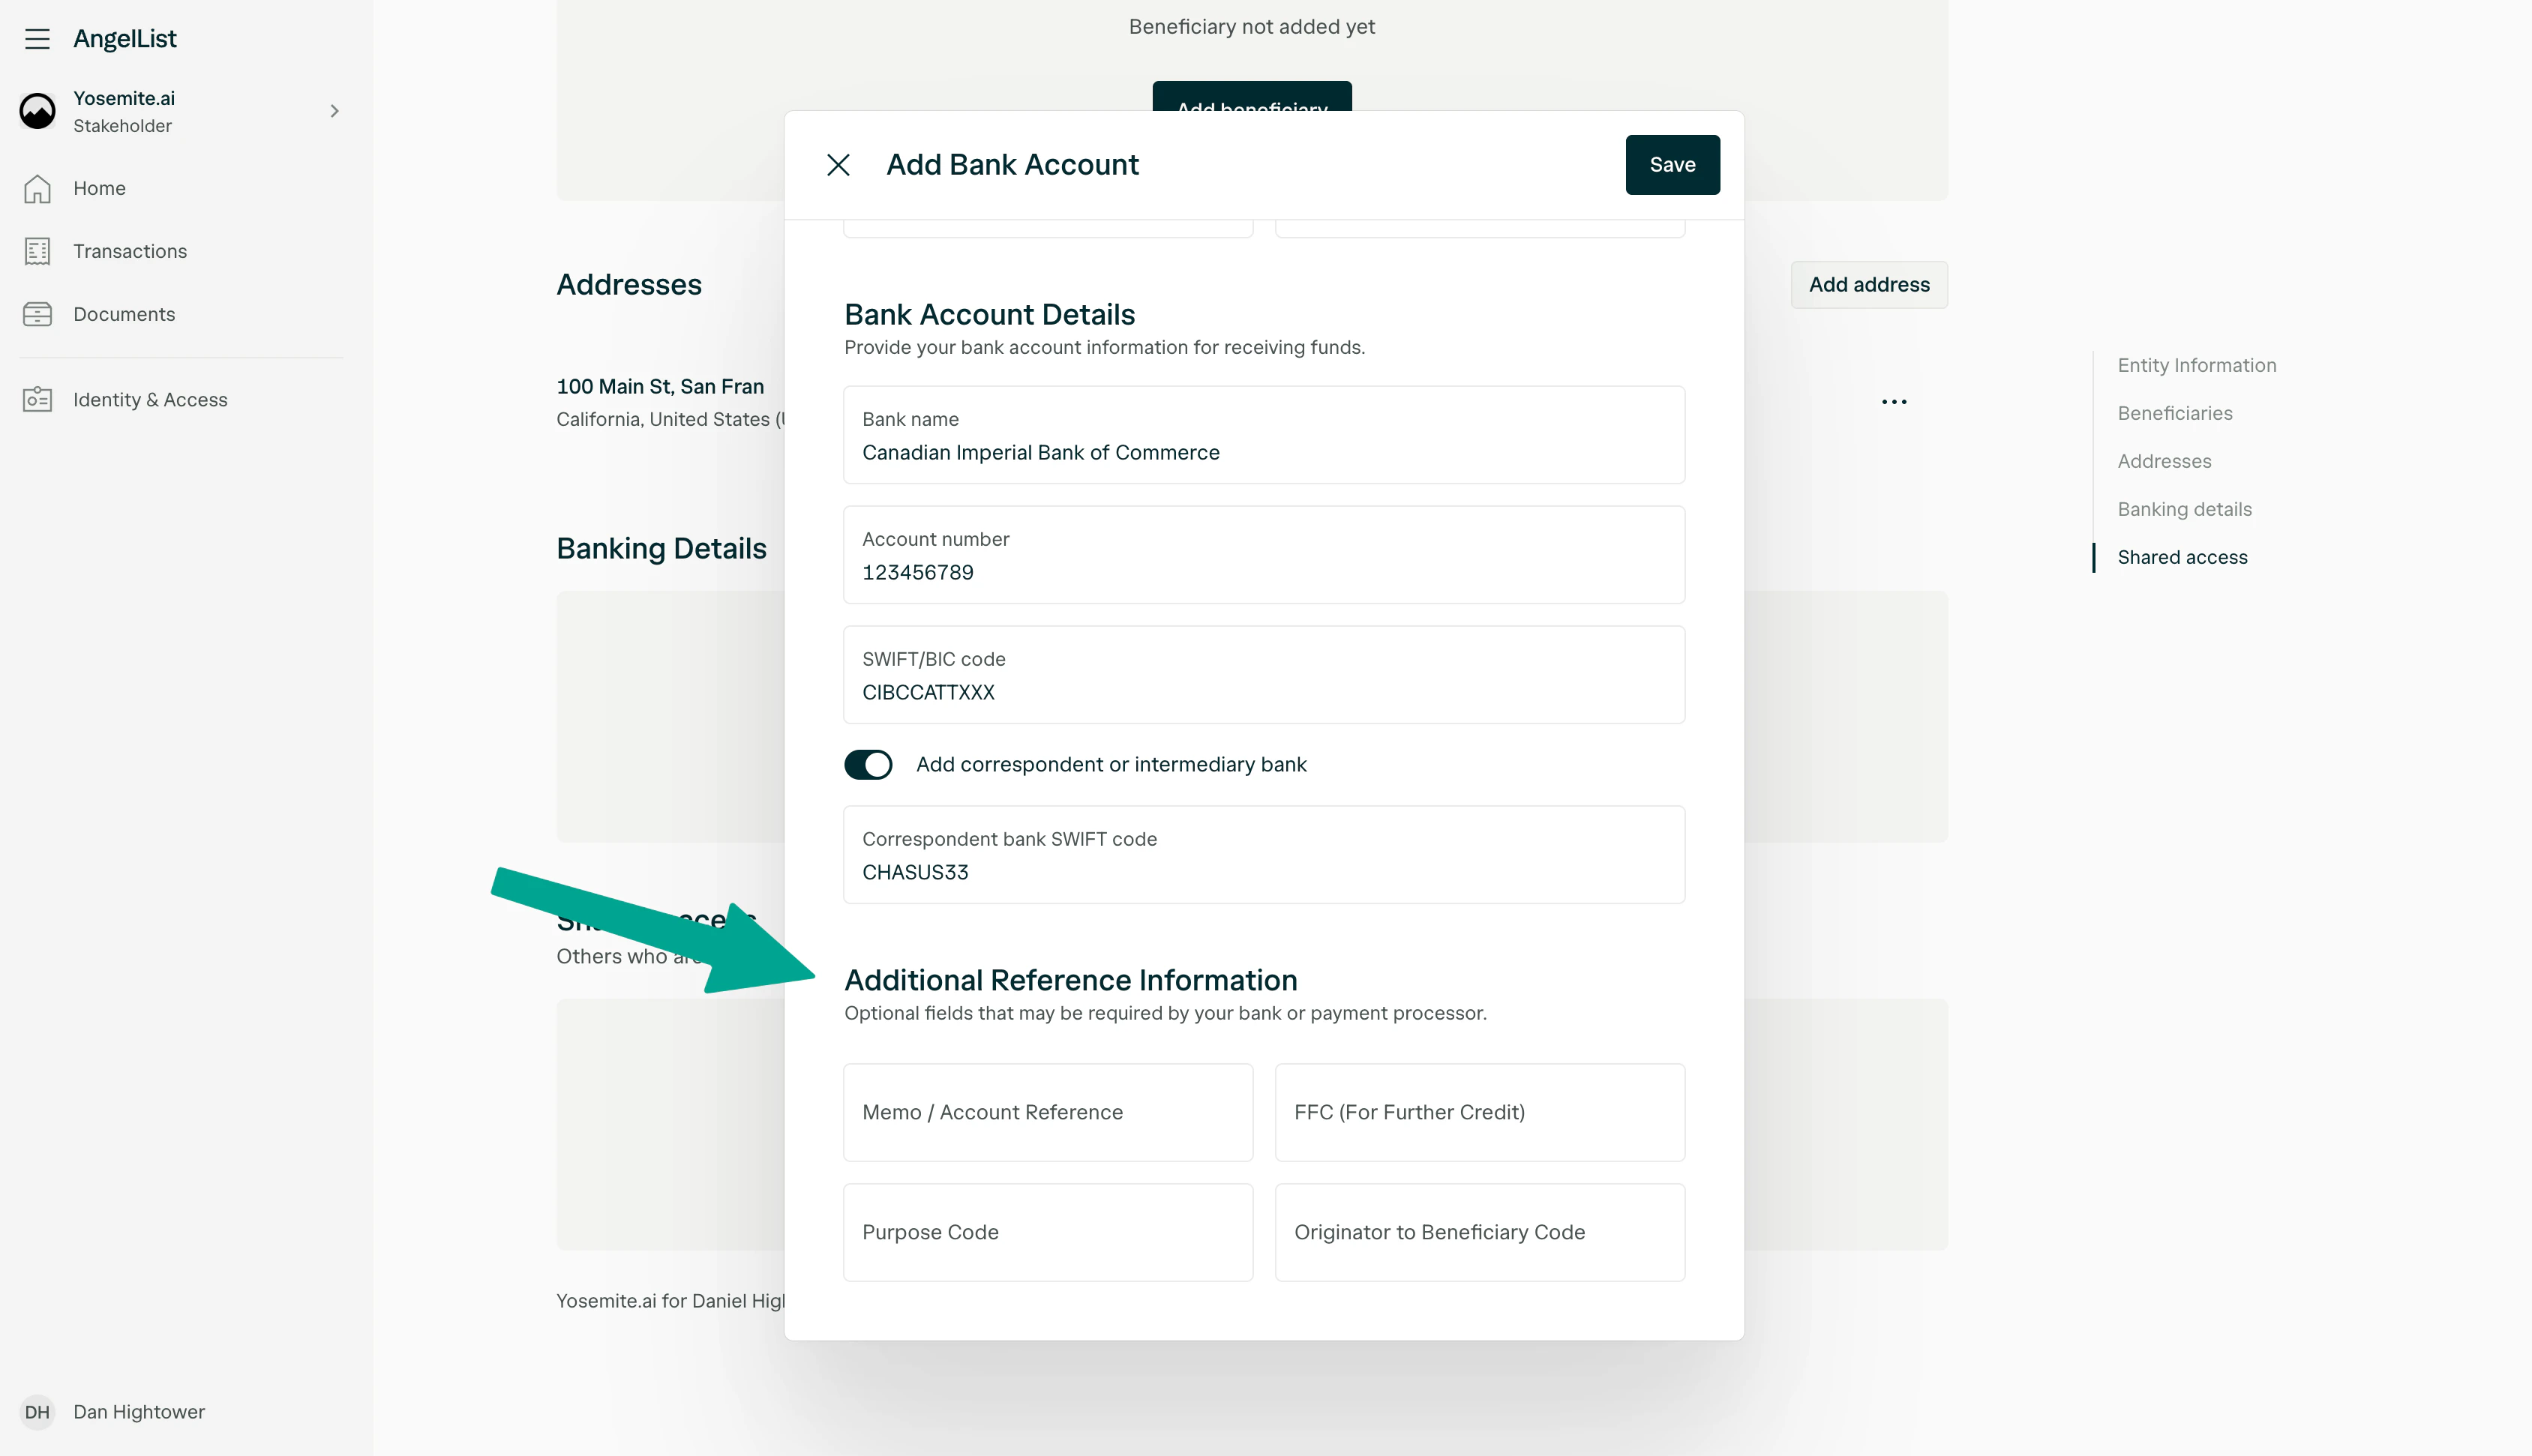
- Memo / Account Reference — A reference number or note required by your bank to identify and allocate incoming funds to your account.
- FFC (For Further Credit) — Specifies the final recipient when funds are received through a custodial or intermediary bank. For brokerage accounts, this is typically your individual account number.
- Purpose Code — A code that identifies the reason for the payment, sometimes required for regulatory compliance.
- Originator to Beneficiary Code — Additional information passed from the sender to the recipient’s bank.
Editing or removing bank details
To update or delete an existing bank account, navigate to the Banking Details section under Identity & Access in your Stakeholder Dashboard. Click the menu icon (…) next to the bank account you’d like to modify, then select Edit or Delete. If you need to change the bank country or transfer method, delete the existing entry and add a new one.If you have any issues adding or updating your banking details, contact startups@angellist.com for assistance.